So I’ve talked about projects you shouldn’t do yourself, so what about projects you can do yourself Painting. Who can’t paint, right? Close your eyes and start brushing and rolling. Surprisingly there is a lot more to painting than you would think. You can absolutely tell a huge difference between someone that knows what they’re doing, and someone that does not. So what makes my paint job and a professional’s so different?
Preparing for Paint Renovations
The preparation is key to a good paint job. Like a lot of other things, the seemingly small insignificant things make all the difference in the end product. Sanding the walls and trim is the most common step I see homeowners miss. If you run your hand over a painted wall, you will find out pretty quickly if a professional painted or a homeowner. Dust particles and hair can be seen and felt all throughout the paint, and the trim has lumps of hair and carpet in the paint. A well painted wall can make a house feel fresh and new, while a poorly painted wall makes it feel, well just as dingy as before, but in a different colour.
Another preparation that is often missed or done poorly is patching and filling in cracks. After patching a nail hole in a wall, people often don’t take the few seconds it takes to sand the patch smooth so it can’t be seen after painting. In a lot of houses with improper paint jobs, you can walk through and see exactly where all the pictures used to be hung by that clump of drywall patch left on the wall and painted over. A lot of people forget to caulk in the trim as well. This makes the inescapably imperfections in your walls and ceiling stand out with the black shadow line between the straight trim and the wavy ceiling. This can be easily solved with a trip around the room with a caulking gun, your finger and a wet rag.
The Art of Caulking
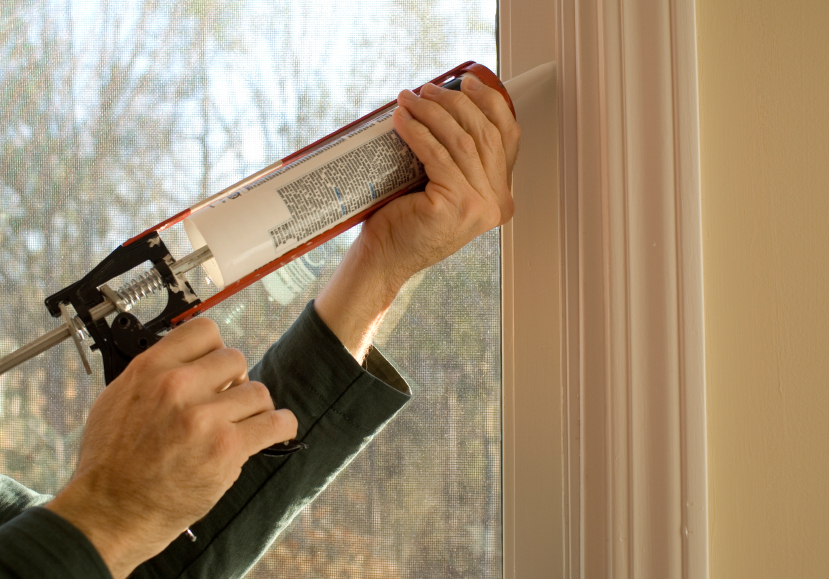
The art of caulking is not a secret ancient art like that of ninjas. There are only a few simple tricks to do a decent job of caulking. First, pick the right caulk. If your painting, don’t use silicone. I’ll repeat that just in case you skimmed over that sentence. Don’t use silicone and expect to paint over it, it doesn’t work. In fact, while silicone is great in some areas, it is very sticky and hard to apply without making a mess. By the end of the job, you will have silicone in your nose, eyebrows and between your toes. Ok, maybe that’s getting carried away, but it gets everywhere if not handled properly. Don’t use it unless in a shower, your counter-top or on the outside of your house. Use a cheap painters caulking. You will be painting it, and so it won’t matter that a cheap one won’t stay brilliant white for long. Second, don’t cut a ginormous hole in the end of the tube. The goal here is not to get caulking everywhere. After applying it, you will run your finger over the bead to smooth it out and work it into the seem at the same time. If you have to wipe your finger off every inch because of the mountain of caulking you applied, you are not only wasting money, but also making a mess. The goal is to have just enough that your finger can press it down without having a lot of access on your finger at the end. Finally, give it some time to dry and you can start your painting.
When you start to paint, there several ways to do it. Some people like to pain the trim first, and the walls second, other like to do it the other way around. I find its easier to cut in the walls to the trim (meaning painting the edge where the two paints will meet, also known as edging). As you are not working with the little tiny lip of the trim. This way you don’t have to worry about getting trim paint on the walls. This stage is generally the easiest because you don’t need to worry about getting paint on other surfaces and should go fairly quickly. Next you would take a good quality brush (spend the extra $10, its worth it) and paint around the perimeter of the walls taking your time not to get paint on the trim or ceiling. Also, make sure you remove anything that you don’t want paint on and can be removed. The extra 5 minutes to take off all the electrical cover plates is well worth it in the long run. This stage takes a bit of time, but will ultimately make a huge difference in how the paint job turns out. You want to get enough paint on the edge that you don’t need to worry about having to roll right up next to an edge and risk hitting the roller on the ceiling or trim. After you’ve painted two coats around the edge, its roller time.
Painting with Rollers
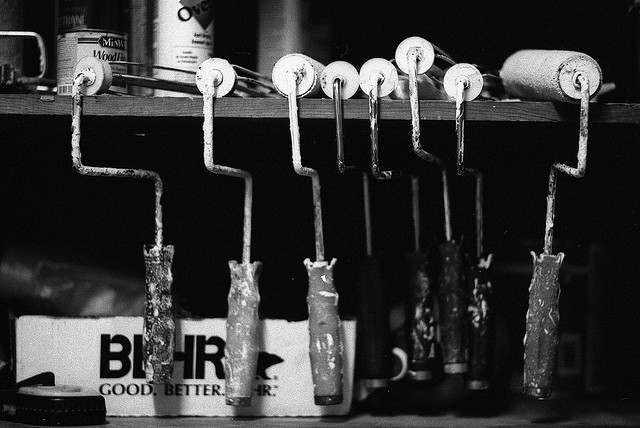
Rolling the walls seems really simply, but can leave all sorts of marks in your wall if you’re not careful. Rolling is probably the most enjoyable step because you’re able to see so much difference in a short amount of time. This is the part your room will start to come out just like you had envisioned in your head. When rolling, don’t try and do it all in one coat. A lot of people put on the paint so thick that it leaves roller marks. The opposite of that is trying to get the paint to go as far as possible and having to press hard on the roller to get any coverage at all. You want to find a happy balance. A trick I use is to roll in the direction of the handle. What I mean by that is if the handle or rod goes into the roller on the right side, start rolling in the left corner of the wall and work your way across the wall to the right. The roller will naturally have more pressure on the handle side and leave a line of paint. As you work across the opposite side will have less pressure and smooth the paint out as you roll across it.
Who knew painting was so involved, right? I know there are professional painter out there who could add a wealth of information to this quick overview with more information about primers and qualities of paint, and it might not be a bad idea to get a professional in to do the work for you. After all, a good painter has the ability to make everyone before him look good and cover up a heap of mistakes. A bad paint job can make even the best trim carpenter and drywall look horrible.
At Alair Homes in Toronto, we are renovation experts and you can count on us for immaculate renovations. When it’s your home, it’s not worth taking that risk. Give us a call and we’ll give you a free quote and show you how we can get it done right the first time.